
7 Concealer Mistakes Ruining Your Makeup Finish
Noopur Kumari | Sept 17, 2026, 10:56 IST

Concealer Mistakes
Image credit : freepik
What if adding more concealer is actually making your makeup look worse? A heavy layer may initially hide dark circles, but as you move, blink and smile, excess product can collect in fine lines. The smoother approach starts before the concealer touches your skin. Hydrate the area, use a small amount of product, blend carefully and set only where necessary. Once you understand where concealer belongs and how much you really need, getting a clean, skin-like finish becomes much easier.
Your concealer may not be the problem. Sometimes, the way you apply it is what makes it crease, settle into fine lines or look heavier than you expected. The secret to a smoother finish is surprisingly simple: use less product and place it where you actually need coverage. Instead of covering the entire under-eye area with a thick layer, a small amount of well-blended concealer can create a fresher, more natural look. The right skin preparation, shade and application technique can make an even bigger difference.
![Woman applying eye cream before makeup]()
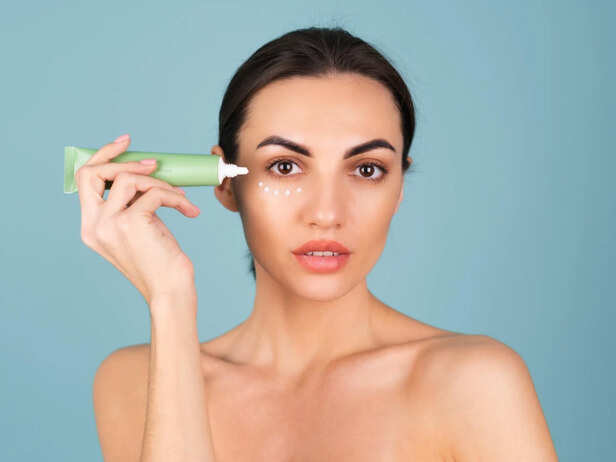
Dry or flaky skin can make concealer look uneven even when you are using a good product. Start by gently cleansing your face and applying a lightweight moisturiser. For the under-eye area, use a small amount of eye cream if it suits your skin, then give the product time to settle. Avoid applying a thick layer of skincare immediately before makeup because it can make concealer slide around. The goal is comfortable, hydrated skin rather than a greasy surface. A smooth base gives concealer a better chance of sitting evenly instead of catching on dry patches.
![Small amount of concealer applied under eyes]()
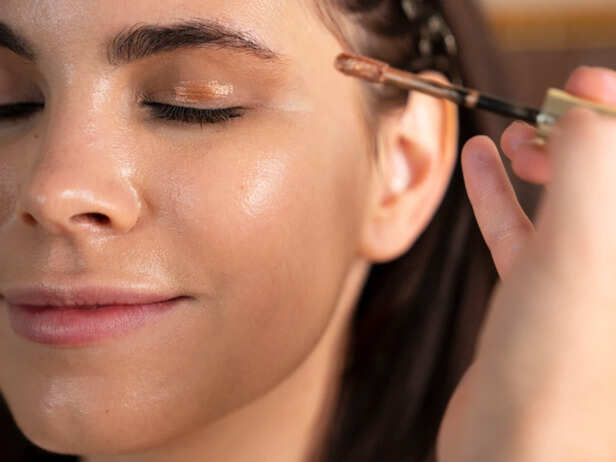
One of the easiest concealer mistakes is applying too much at the beginning. Start with a tiny amount, especially under the eyes, and add more only where coverage is still needed. Place the product mainly around the areas that look darkest, rather than creating a thick triangle beneath the entire eye. This keeps the makeup lighter and reduces the amount of product that can settle into fine lines. If you need extra coverage, build it gradually. Two thin layers usually look more natural than one thick layer.
Your concealer shade can change the entire result. For covering blemishes, a shade close to your skin tone usually blends more naturally. Under the eyes, some people prefer a slightly brighter shade, but going dramatically lighter can make the area look grey or overly highlighted. If dark circles have a strong blue, purple or brown appearance, colour correction may help before concealer. The trick is not to keep adding brighter concealer until the darkness disappears. Use the right tone first, then apply only enough concealer to create an even-looking finish.
Once the concealer is placed, blend it gently with a damp makeup sponge, small brush or clean fingertip. Avoid aggressively rubbing the under-eye area because this can move the product away from the area where you need coverage. Start at the edges and softly tap toward the centre. This creates a gradual transition between the concealer and your natural skin. If the product begins looking patchy, stop adding more and work with what is already there. Good blending is often less about speed and more about using controlled, light movements.
Here is a small step that can make a noticeable difference. After blending, look straight ahead and gently smile or blink a few times. If concealer has gathered inside a crease, use a clean fingertip or small brush to redistribute that excess product before setting it. Do not immediately cover the crease with more concealer. That only adds another layer to an area already holding too much product. Once the surface looks smooth, you can lightly set it. This quick check is especially useful if your under-eye area naturally has fine lines.
Setting powder can help reduce concealer movement, but using too much may make the under-eye area look dry or textured. Take a small amount of finely milled powder and gently press it onto areas where your makeup tends to crease. You do not necessarily need to bake the entire under-eye area. If your skin is dry, you may prefer using very little powder or skipping it in areas that do not crease. The goal is to keep the concealer in place while allowing the skin to retain a natural appearance.
The best concealer finish does not have to look completely flat or airbrushed. Real skin has texture, movement and fine lines. Instead of chasing a thick layer that hides every detail, focus on evening out the areas that genuinely need coverage. Prep the skin, use a small amount, choose a suitable shade, blend gently and remove excess product before setting. If your concealer still creases after these steps, your formula may simply be too rich or incompatible with your skincare. Sometimes the smoothest makeup comes from using less, not more.
Discover expert advice and the latest updates in Skin Care, Hair Care, Wellness, Dermatology, and more at Stay Young guide to lasting beauty and holistic health!
Start With Well-Prepped Skin
Woman applying eye cream before makeup
Image credit : freepik
Dry or flaky skin can make concealer look uneven even when you are using a good product. Start by gently cleansing your face and applying a lightweight moisturiser. For the under-eye area, use a small amount of eye cream if it suits your skin, then give the product time to settle. Avoid applying a thick layer of skincare immediately before makeup because it can make concealer slide around. The goal is comfortable, hydrated skin rather than a greasy surface. A smooth base gives concealer a better chance of sitting evenly instead of catching on dry patches.
Use Less Than You Think
Small amount of concealer applied under eyes
Image credit : free
One of the easiest concealer mistakes is applying too much at the beginning. Start with a tiny amount, especially under the eyes, and add more only where coverage is still needed. Place the product mainly around the areas that look darkest, rather than creating a thick triangle beneath the entire eye. This keeps the makeup lighter and reduces the amount of product that can settle into fine lines. If you need extra coverage, build it gradually. Two thin layers usually look more natural than one thick layer.
Pick the Right Shade
Blend, Do Not Rub
Give Creases a Quick Check
Set Only Where Needed
Keep the Finish Looking Like Skin
Discover expert advice and the latest updates in Skin Care, Hair Care, Wellness, Dermatology, and more at Stay Young guide to lasting beauty and holistic health!